Tuesday, June 5, 2012

Patchwork Twirl Skirt

Link to the Disboards where Nanci posted directions for her patchwork twirl skirt.
http://www.disboards.com/showpost.php?p=45084895&postcount=1967

Monday, August 22, 2011

Easy Fits into Roll-Up Pants Tutorial


No longer will anyone have to ask "Does anyone have a tutorial for how to make roll-up pants using Carla C's Easy Fit pattern?" only to find out the answer is "No." This might not be the clearest set of directions, but I tried to take pictures every step of the way and made notes of each thing I did. If anyone tries using this tutorial and finds a different way to do something, would you please post about it??? I'd really appreciate it!!!

Easy Fits into Roll-Up Pants Tutorial

1. Cut out pants using next size up pattern pieces (to allow for extra room for French seams). I'm using a size 7 for my son who has a 27" out seam and a 24" waist.

2. Cut the pants using the basic pattern piece.

3. Cut your solid fabric (the inner "lining" fabric if you will) from the knee to the hem. Ideally you would measure from the waist to the knee and from the knee to the ground. Carla C has a 1.25" waist allowance at the top of the pant pattern piece and a 4.5" hem allowance at the bottom. My son is 11" from waistband to knee and 16" from knee to floor. I cut his inner fabric 16" long and used the pants pattern for shape.

Really this piece of fabric needs to be long enough to roll the pants up as high as you wish. For my boys they like to be able to roll them to knee length. Some might only want Capri length (and wouldn't need as much material). You could see how the cuff pattern piece would work for you. It worked fine to make an AG a cute pair of roll-up capris.
Mine is 16" long.


4. Sew the right sides of the two pieces together at the bottom of the pants pieces. (Just like Carla C. directs for sewing on a cuff)


5. Iron seam towards main fabric


6. Pin pants pieces wrong sides together. I'm using French seams, remember? Sew center crotch using a 1/4" seam allowance.


7. Flip pants so that right sides are together. Iron seam so you have a nice crisp fold.


8. Sew center crotch again making sure to catch your seam inside. 3/8" should be good. Be sure to go back and sew over the crotch with a second reinforcing stitch! Stitch up about an inch from the bottom of the seam on both sides.

9. Turn pants right side out so that the two sides are folded in half and the crotch seams are together. Match up the crotch seams and pin legs. Be sure to have your lining piece still hanging down outside the pant leg. Sew inseam using 1/4" seam allowance. Be sure to sew back and forth at your start and stop to hold stitch in place!


10. Remove pins and turn pants inside out. Put right sides together. Iron seams and then sew again using 3/8" seam allowance. The pants seem REALLY long right now, huh?

11. Turn right side out again and iron open those seam again!


12. Turn lining inside the pants leg now. Your main fabric should turn inside just a little (this way when worn as full length pants the inner fabric doesn't show at the bottom).


13. Hem pants. I use a double needle because I like how it looks more finished. I use an inch seam allowance here. If you are using a double needle make sure you sew on the right side of your fabric!!!!


14. Sew your waistband according to CarlaC's directions.

15. Now - you need 4 tabs. I made mine 2"x10". I cut 8 strips and sewed them together using 1/4" seam. Be sure to leave an opening at one end for turning! Turn and tuck the little bit of raw edge in and iron and then top stitch all the way around (again 1/4").


16. Try the pants on your LO. Roll up one pant leg to where you'll want it to be when the tabs are in use. Stick a pin in the edge and carefully remove from child. Mine ended up being at 14" up from the hem.


17. Turn pants inside out and press flat so that your inseams match up (inner and outer fabrics). Pin your tabs one inch above your measurement (so mine is pinned at 15"). Pin one tab on the inseam and one where the out seam would be.


18. Sew tabs on using either a double needle or two rows of stitching. Be sure you aren't sewing the pant leg closed!!! Also be sure you're catching both the inner and outer fabrics!!!

19. Roll them up and pin the tabs up and around to the stitching on the outside of the pant legs!!! Admire your work! You're almost done!


20. Here's where you have to decide what type of fasteners you want . . . Buttons or snaps. Sew buttons to stitching on outside of pant legs. Button holes go on the tabs. If you choose snaps I'd put the male half on the pant leg and the female half on the tab.


21. You are done! Take a picture of the fabulousness you created!


__________________
Marianne

Friday, March 18, 2011

Embroidering a T-shirt on a machine by AimeeG

Posted by AimeeG http://www.disboards.com/showthread.php?p=40347630#post40347630


First I gathered all of my supplies


Then I copied the design file to a thumb drive. Some designers also include a stitch map with the design file. It's a great tool to have. It tells you step by step what colors to use. My machine does not have a fancy screen and sometimes it is very hard to tell what step is what color.


It's essential to use stabilizer. What kind is up to your own preference. I use Sulky Stick Back. I know some say that it gums up the needle but . . . you really should change your needle after each project anyway. It's really the only stabilizer I use for machine or hand applique.


There are several ways to hoop your shirt but this is what seems to work for me. I cut right the side seam of the shirt. Then I lay the shirt flat with the hoop resting on top. I use the the vertical and horizontal ticks to help me line up my shirt. Using a fabric pen I put a dot by each mark and a dot in the center. Then I hoop the shirt.


When I stick on the stabilizer I make sure that I go right up to the notches on the bracket but not over them.


Now it's time to select the pattern. One day I hope to fancy machine with a color screen but for now it's the screen that reminds me of our Brother Word Processor from 1990.

Before I start a design I hit the adjust button. Here you can do lots of things like flip the design and change the size. I always double check the placement of the design. This cupcake is about 5 x 5 so the design is centered in the hoop. That is great but it is too far down the tee shirt. I use the arrow buttons to adjust where the top of the design is.


The first set of stitches is your placement mark. Here is another time saver tip- My machine only has one thread so I have to change it a lot. As long as it is not black I normally do all the placement and tack down stitches with the first color that will be satin stitched. For the design yellow is the first satin stitch color.


I also use a spray adhesive. I have never been successful without this spray. I know others have but my fabric seems to pucker without it! When it's time to spray my fabric I use this handy dandy box. I turn the fabric upside down and lay it in the base of the box. Spraying in the box contains the excess glue from sticking up the desk or the floor.
 The next stitch is the tack down stitch. You have to be very careful to cut
very close to the edge of the stitch without cutting the thread. When I trim the excess fabric I like to pull the fabric slightly. It helps to get a close trim.

Next the cupcake liner fabric was added and the cupcake outline was stitched. Another tip is to cut your jump threads as you go. A jump thread is where the stitching stops and jumps to another part of the design. It keeps the applique neat if you cut these threads after each color. I find this especially true when doing eyes.

And there you have it. . .


Thursday, March 17, 2011

Ruffle Socks By 1308Miles

These were posted  by 1309miles on the Dis: http://www.disboards.com/showpost.php?p=40271316&postcount=1097

 I used ribbon that is 1.5" in width (but also used 7/8" ribbon...smaller widths tend to flip upward after they are sewn.)

Measure the width of the sock and quadruple it to determine the length of ribbon to use (for example, DDs socks measured 4", so I used 16" of ribbon.)

Find the back of the sock (where the ankle goes) and place a pin there.

Turn the sock inside out and slip it on the free arm of your sewing machine. It should be stretched to about double the width. Be sure that it is stretched enough or else it will be too tight to wear!

Align the edges of the ribbon and the sock.

Pin the ribbon to the sock (begin where you placed the pin at the ankle) wrong side up leaving a 1" length of ribbon hanging.

Zigzag stitch the ribbon to the sock.

Once you have zigzagged around the sock, you should have about 1" on either end hanging freely at the pin you placed at the ankle.

Place those right-sides together and straight stitch those.

Cut the excess and heat seal the edges.


Monday, June 28, 2010

Weighted Blanket by kdzbear

Originally posted on the Dis: http://www.disboards.com/showthread.php?p=36821111#post36821111

Supplies needed:
1-2 yards of fleece fabric
Plastic Pellets


1) Determine the child’s weight. Then for example the child weighs 40 pounds, you would need 5 lbs. of plastic pellets. You take 10% of her body weight and add one pound to determine the amount of plastic pellets to use (You might also want to consult your child's doctor to determine the recommended weight)

2.) For a smaller child you will need one yard of fabric and for a larger child you will need 2 yards of fabric.


3) Fold the material in half length wise. Then use a serger to sew up both sides. Leave the top open. The bottom seam will be the fold.
4) Then with regular or sewing chalk make 4 or 5 long vertical rows down the length of the blanket. Then go back and make 4-5" horizontal rows. These will be your pockets.
In a one yard blanket your pockets will be 4”x4” square pockets
In a two yard blanket your pockets will be 7”x5” and more rectangular pockets


5) You will need to purchase plastic pellets from a hobby store such as Hobby Lobby. These can be found in the doll and teddy bear making aisle. They normally come in 2 lb. bags.


6) Sew the vertical lengthwise pockets so you can drop the 1/4 cup of pellets down each pocket before sewing across vertically.
7) I put about 1/4 cups of pellets in each pocket and then pin across vertically. Then you will have to sew vertically across to seal these pockets. I would use heavy thread and back stitch at each start and end of each pocket. I did not do this with Tyler's heaviest blanket and I have had to go back and fix threads that have pulled out. Just keep repeating as you go up each row until you reach the top. Make sure you pin the pellets below where you are sewing as they will break your needles.


8) The 1 yard / 2 lb. blankets never came apart. Then you fill the next columns of pellets across vertically and sew across. You do this until you reach the top.
9) The blanket will get heavy and hard to maneuver around the sewing machine. Once you sew shut the last pocket go ahead and serge the top seam shut too.

Monday, June 21, 2010

Jeanne's (jham)Belt Loop Skirt Tute


Cut out your yoke piece and skirt pieces. Cut out 4 strips of fabric slightly longer than your yoke X 1 ½”

For example if your yoke piece is 5”x30” then cut 4 strips about 5 ½”x 1 ½”.
Fold your belt loops lengthwise and stitch into a tube (1/4” seam allowance). Insert a very thin ribbon inside (I do this before I stitch up the side) and stitch across the top of the loop to secure ribbon. Pull on the loose end of the ribbon to turn the tubes right side out and then cut ribbon off.
Press belt loops.
Press your yoke piece to mark 4 lines for belt loop placement . Baste (1/8”) the top of each belt loop to the top of the yoke at the marking creases you pressed. Baste the bottom of each belt loop to the bottom of the yoke making sure it lines up with the crease. Serge the top edge and press down casing for elastic. Use a fabric marking pen and mark where you want the openings in your belt loops (mark a line across the top of the opening and a line across the bottom). Make sure to take into account your seam allowance for attaching the skirt on the bottom. I make the openings a little wider than whatever ribbon I’m using for the belt and I place them low-ish on the yoke, not centered.Unfold casing and stitch each belt loop from the top edge of the yoke to the line you marked. Turn and stitch across belt loop and stitch back up to the top edge of the yoke. Do the same for the bottom edge. After stitching down all belt loops, leaving only the opening wide enough for your ribbon, stitch up the seam in the yoke and stitch casing for elastic.

Thanks for sharing this tutorial with us Jeanne!

Thursday, April 15, 2010

Tiana Dress from Simply Sweet Pattern by jas0202


http://www.disboards.com/showpost.php?p=35980490&postcount=1011


By Jas0202:
For the Tiana dress, I used the simply sweet pattern with the scrunched elastic straps. I used the yellow fabric for the front bodice and the skirt, and then the matching green for the back bodice. To make the leafy things on the bodice, I laid the green fabric on top of the bodice. I cut the bottom and the arm hole to match the bodice so it could be sewn in together with the bodice pieces. I free-handed the arch of the leaves across the middle so that there would be a little yellow showing through, but that they would partially overlap. I sewed the arch and the top point of the leafy bodice pieces then turned right side out. Then placed them inside the bodice pieces and assembled the bodice as she describes...armholes first, then scrunched straps (while moving the leaf points out of the way), turn right side out, side seams.

For the skirt, I cut the yellow as she describes in the pattern directions. For the leaves, I cut squares of fabric that were one inch shorter than the LENGTH of the skirt. So, my skirt pieces were 9x15, so I made 8x8 squares. I made 12 of them, for a total of six leaves. I made a pattern to round the bottom edges to form the leaf points on each. Sewed the leaves together, turned them right side out, pressed. They were too thick to use basting stitches, so I had to gather it manually to attach to the bodice. Then zig zagged it to set the gathers. Gathered the yellow skirt, attached to the bodice and sewed through all layers.

For the flower, I used THIS tutorial...
http://sewritzytitzy.blogspot.com/2008/11/from-annas-gardenfabric-flower-tutorial.html


Teresa again.
I used this tutorial to sew up the dress the other day, and this is how it turned out:
I only used one layer for the leaves, and serged around them with gold threads. For the petals on the bodice, I sewed the petal edges onto the bodice instead of leaving them loose. When I was done, I sewed the tips of the petals onto the straps, because I was afraid they would flop over. I think if I do it again, I will try to shape the white middle part of the bodice. But, I was pretty happy with the way it turned out anyway, so I'm not sure I will bother!

Thursday, March 11, 2010

How to use PED Basic

Are you running Windows Vista or Windows 7? If you are, you are not suppose to install the CD software on your computer, you need to download it from the Brother site.

Make sure your reader is plugged in and you have a card in the slot.

Can you open up the PED Basic software from your Program Menu (or if it's like mine, it installed a shortcut on my toolbar, I click that)?

If you already have the PES files on your computer and you can open the PED software, click on the little file folder at the top of the window that opens up.

Click on the folder where you have your embroidery designs, click "Ok"

They should now show up on the left side of your screen. If they don't, make sure your files are in PES format and that they are all unzipped.

Once they are showing up, click on the one(s) you want to put on your card, then hit the arrow button in the middle of the screen.

The design will now show up on the right side of the screen.

This will transfer your designs to your card. It will warn you that it will overwrite all existing designs on the card, (like when you erase the pictures from the memory card on your camera). click ok, or continue or whatever it is.

It will tell you to wait a minute, then it will pop up that the transfer is complete.

Take the card out of the reader and put it in your machine.

I only have a Brother 270D, but on my machine, when the card is in and the embroidery unit is on, there is a little symbol that looks kind of like the memory card, I click that and it will show all my designs that are on my card.

Click the one you want to stitch, and you should be good to go.

When you have all the designs on the right side you want, click the arrow thingy on the bottom of the right side of the screen.

Monday, February 15, 2010

Pick-up Pleats

http://www.disboards.com/showthread.php?p=3536

I had asked on the Dis if anyone could help me figure out how to do these little pick up pleats. I was answered by FairyGoodmother:

Teresa, I think you're on the right track with the Precious Dress, and of course, Carla's sash. As for the "pick-ups" in the skirt, figure that you'll "pinch" about 1.5" per pickup, so however many rows of pickups you want, multiply that by 1.5 to figure your length. Place your pickups kinda in a pattern, like this:
.....X..........X

X..........X..........X

.....X..........X

As long as you have the same measurement between them, you'll be fine. Does that make sense?

The pickups are just that...you pick up the fabric, pinch it, then hand stitch it to hold in place. Oftentimes they're then covered up with roses, buttons, jewels.


I then asked her if the pleats should be made on the inside of the dress:

no - you pinch it on the outside and stitch it.

You actually COULD do it from the inside but the look is a bit different.
Play with it; see what look you prefer.

Unfortunately, I didn't get a chance to try this out on the dress I was making. I plan on trying it someday though! If you've tried it, send me a picture and I'll add it to this post.

Shopping Cart Cover by Adi12982

This was first posted on the Dis by Adi12982
Click on the picture to see the whole thing

What you need:

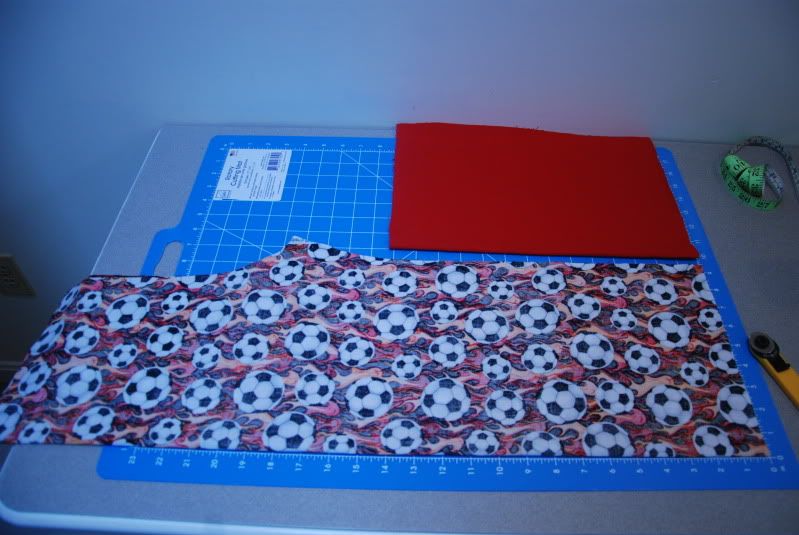
- Two different fabrics each 1 1/3 yards each (or a total of 2 and 2/3 yards if you want to use the same fabric on both sides)
- 1 1/3 yards of batting (the thicker the fluffier, not necessary, but nice)
- 1" wide elastic, 1 3/4 yards of it
- 1 package of matching double folded bias tape

OPTIONAL - if you want to have your own straps, instead of using the ones on the shopping cart - then:
- 1 yard of seat belt strapping
- 1 plastic locking seat belt connector


Instructions:

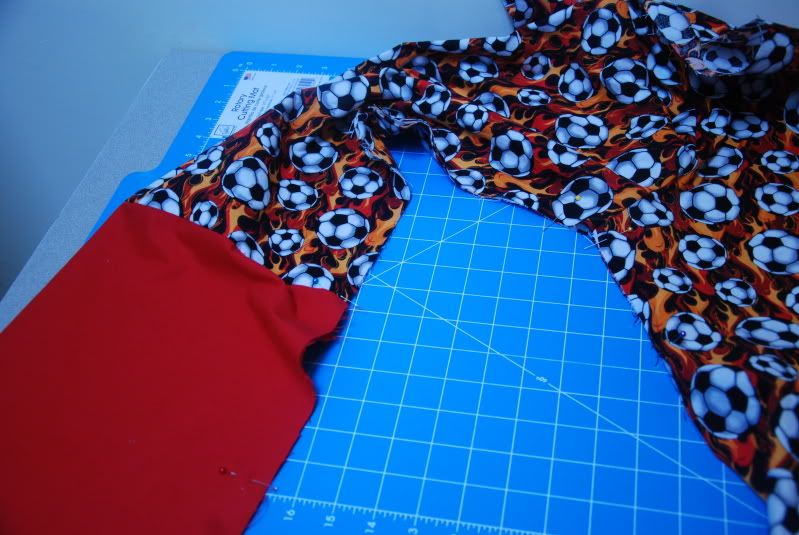
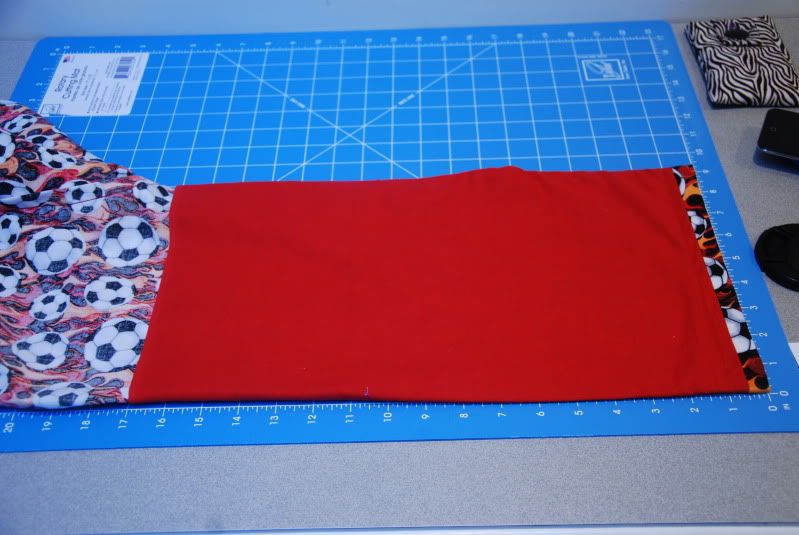
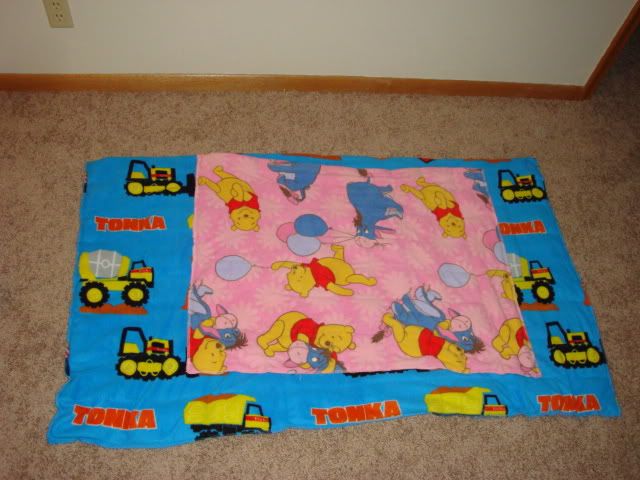
- lay your two pieces of fabric, right sides together and the batting and pin.
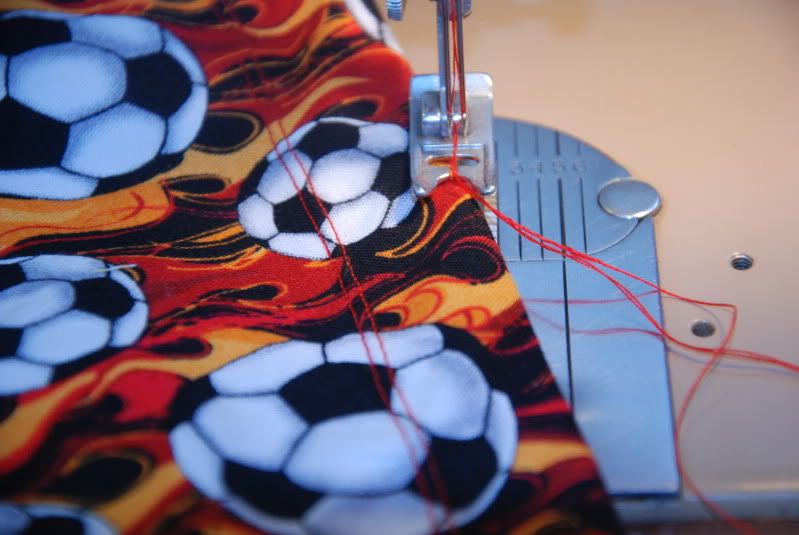
- stitch around the entire outer edge of the fabric (not the leg/belt holes - just the 4 outside edges of the cover).
I try to use only about a 1/4 - 1/2" seam around the outer edge so that you aren't taking up too much of the fabric. Stitch a solid
seam all the way around the outer edge of the cover and stop stitching about 6" before the starting point so that you end up
with a hole that you will use to turn the cover right side out.
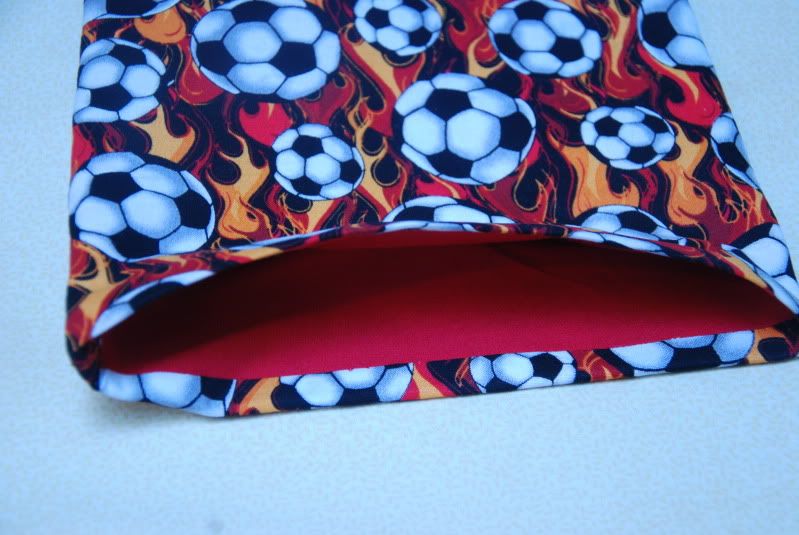
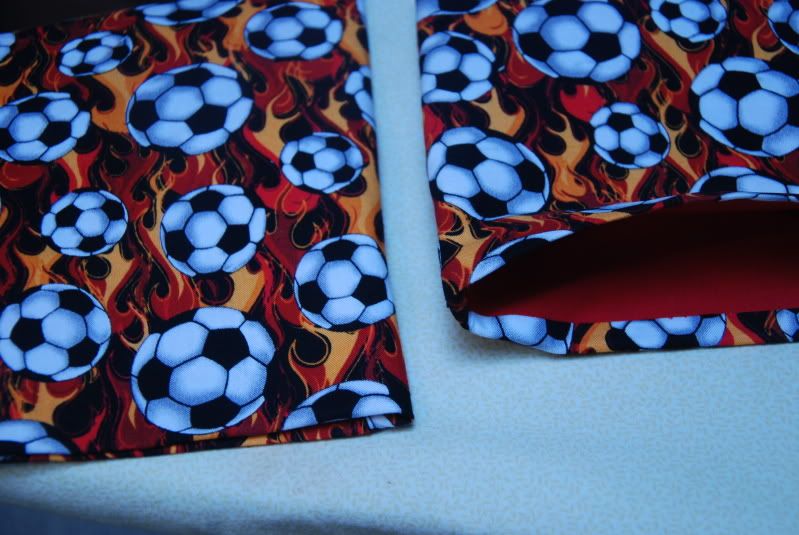
- Turn the cover right side out.Top stitch around the VERY outer edge of the cover leaving the same 6" "hole" the way around to give the cover some added strength and a neat appearance.
- Now, you will stitch another seam around the outer edge, but not on the very edge, this seam will be 2" in from the outer edge of the cover. This seam will be a casing for the elastic around the outer edge. Make this seam 2" in from the outer edge all the way around the cover. You do not need to account for the "hole". (Now, when you look at your fabric, you will see one seam going all the way around the very outer edge, with an 8” section where you left an opening. Then, you will see another seam 2” further in from the first seam. This seam goes all the way around, without an opening. It starts and stops at the same place, without any gap.
7. At this point, you will want to finish your leg and seat belt holes. You can use the seam tape, which makes a nice, clean
appearance or you can use a serger or even a tight zig zag stitch close to the edge of the fabric. Whatever you chose to use is
up to you and depends on the look you want. What I do is mark with a fabric marker where the leg and seat belt holes should go, and then do an initial stitching around where I will be cutting, then I cut just inside - this helps keep it all together a little easier than just pinning (which I used to do).
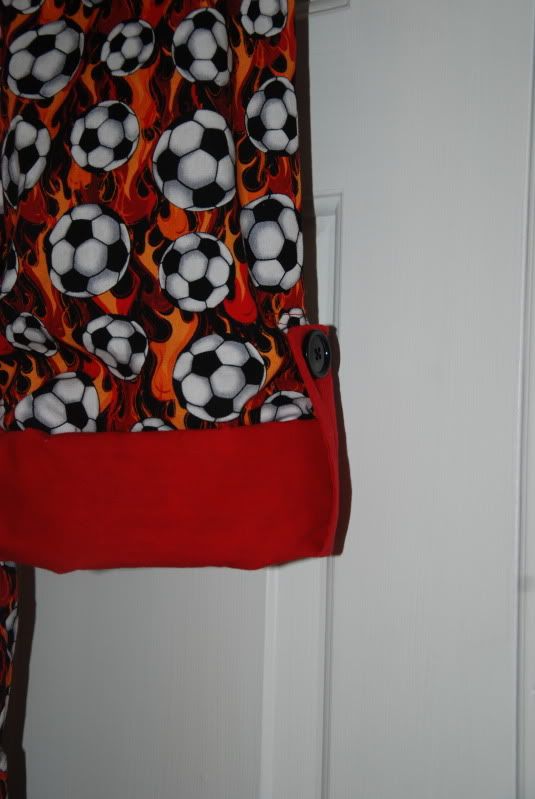
- after cutting out the holes I then attach the bias tape around the leg hole cuts I made and the ones for the seat belt.
8. Now is time for the elastic. It is the hardest to do using a safety pin (your hands will get tired and it will take a while, but it can be done). What I have been using is one of those cheap curtain rods - I take the plastic cap of the end and push the elastic in a bit and then recap, and push through. If you have real tools for it, have at it. .. just get it through

Whichever way you use, once you have the elastic through
the casing and have both ends of the elastic back at the 8“opening, you will need to stitch the two ends of the elastic together
tightly so that it doesn't come apart. Once that’s done, stitch the 8" hole closed at the top/finish the edge top stitching.

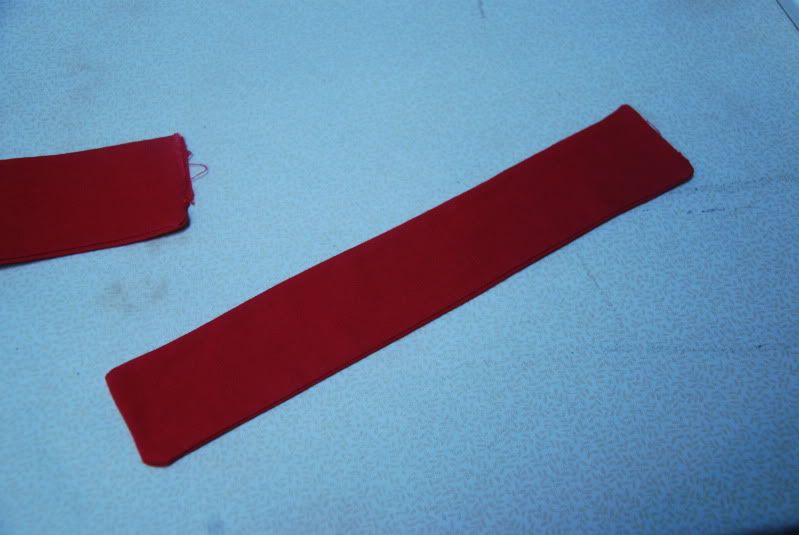
9. Lastly, you need to make the seat belt, if you are making one. Split the seat belt material in half and attach at either side. I've never done this, but have seen that some do.

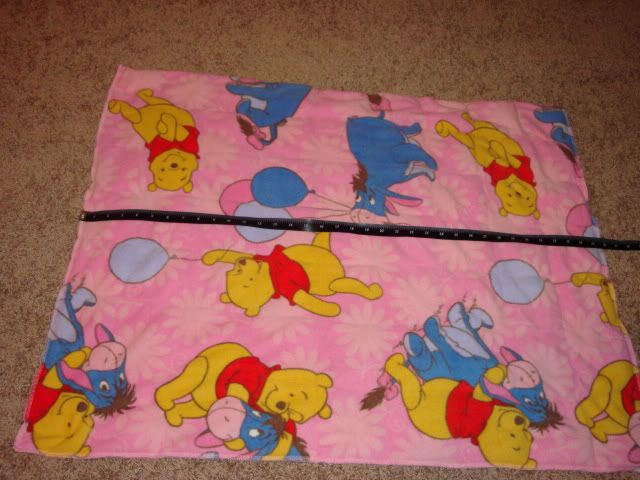
Double Cart Cover Alternate Instructions: To make the double cart cover, you will do everything exactly as stated in the original pattern, except you will need to make 4 leg holes instead of two and you'll need to make 4 seat belt holes instead of 2. You will need to purchase 2 yards of seat belt strapping, 2 locking clips for the seat belts and extra binding, since one package, most likely, will not cover all 4 leg holes and all 4 seat belt holes. To add the leg holes, you will need to cut one additional leg hole on either side of the original 2 leg holes. Space them 2" apart from the original holes, just as the two original holes are spaced 2" apart. So, you will end up with 9.5" of fabric left from the edge of the outer holes to the edge of the fabric, instead of the 16.5" which is shown in the original pattern. To add the seat belt holes, you will just look at the leg holes as two sets and put one hole above the outer edge of the leg holes of each set. (see the original iagram for placement above the set of leg holes and do this with each of the two sets).