Supplies needed:
1-2 yards of fleece fabric
Plastic Pellets
1) Determine the child’s weight. Then for example the child weighs 40 pounds, you would need 5 lbs. of plastic pellets. You take 10% of her body weight and add one pound to determine the amount of plastic pellets to use (You might also want to consult your child's doctor to determine the recommended weight)
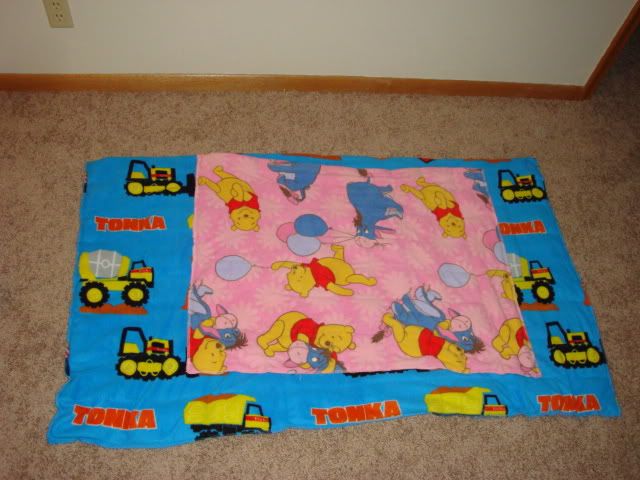
2.) For a smaller child you will need one yard of fabric and for a larger child you will need 2 yards of fabric.
3) Fold the material in half length wise. Then use a serger to sew up both sides. Leave the top open. The bottom seam will be the fold.
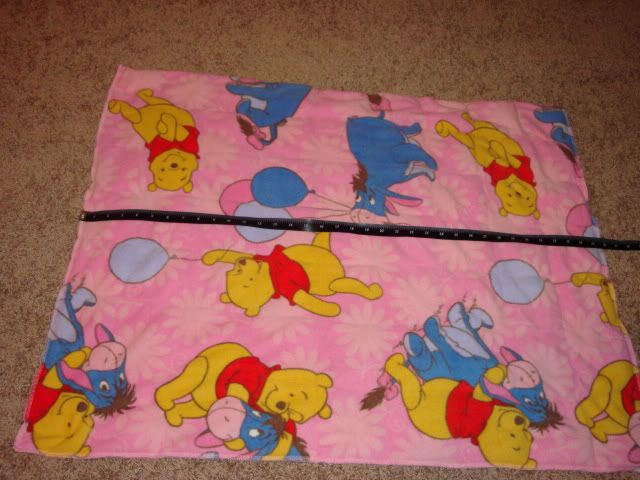
4) Then with regular or sewing chalk make 4 or 5 long vertical rows down the length of the blanket. Then go back and make 4-5" horizontal rows. These will be your pockets.
In a one yard blanket your pockets will be 4”x4” square pockets
In a two yard blanket your pockets will be 7”x5” and more rectangular pockets

5) You will need to purchase plastic pellets from a hobby store such as Hobby Lobby. These can be found in the doll and teddy bear making aisle. They normally come in 2 lb. bags.
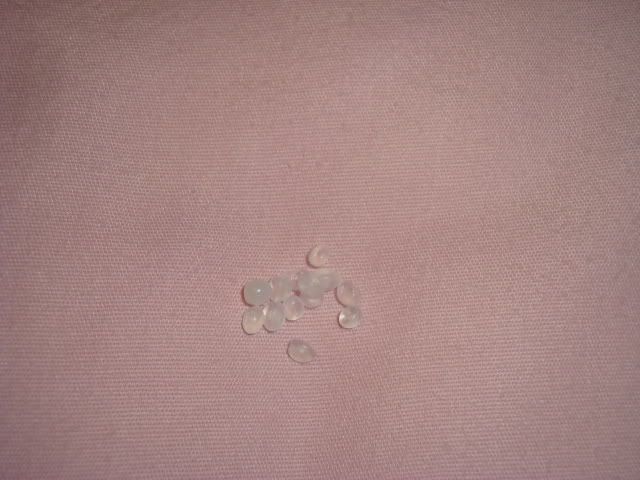
6) Sew the vertical lengthwise pockets so you can drop the 1/4 cup of pellets down each pocket before sewing across vertically.
7) I put about 1/4 cups of pellets in each pocket and then pin across vertically. Then you will have to sew vertically across to seal these pockets. I would use heavy thread and back stitch at each start and end of each pocket. I did not do this with Tyler's heaviest blanket and I have had to go back and fix threads that have pulled out. Just keep repeating as you go up each row until you reach the top. Make sure you pin the pellets below where you are sewing as they will break your needles.
8) The 1 yard / 2 lb. blankets never came apart. Then you fill the next columns of pellets across vertically and sew across. You do this until you reach the top.
9) The blanket will get heavy and hard to maneuver around the sewing machine. Once you sew shut the last pocket go ahead and serge the top seam shut too.