No longer will anyone have to ask "Does anyone have a tutorial for how to make roll-up pants using Carla C's Easy Fit pattern?" only to find out the answer is "No." This might not be the clearest set of directions, but I tried to take pictures every step of the way and made notes of each thing I did. If anyone tries using this tutorial and finds a different way to do something, would you please post about it??? I'd really appreciate it!!!
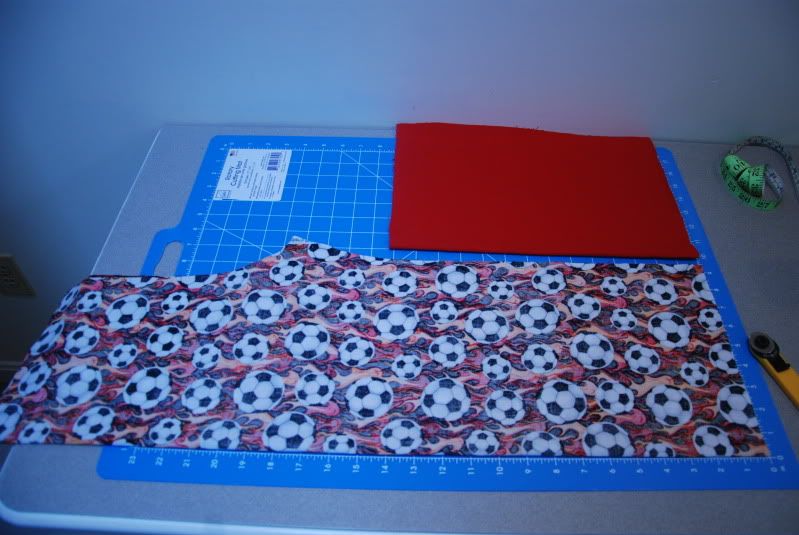
1. Cut out pants using next size up pattern pieces (to allow for extra room for French seams). I'm using a size 7 for my son who has a 27" out seam and a 24" waist.
2. Cut the pants using the basic pattern piece.
3. Cut your solid fabric (the inner "lining" fabric if you will) from the knee to the hem. Ideally you would measure from the waist to the knee and from the knee to the ground. Carla C has a 1.25" waist allowance at the top of the pant pattern piece and a 4.5" hem allowance at the bottom. My son is 11" from waistband to knee and 16" from knee to floor. I cut his inner fabric 16" long and used the pants pattern for shape.
Really this piece of fabric needs to be long enough to roll the pants up as high as you wish. For my boys they like to be able to roll them to knee length. Some might only want Capri length (and wouldn't need as much material). You could see how the cuff pattern piece would work for you. It worked fine to make an AG a cute pair of roll-up capris.
Mine is 16" long.
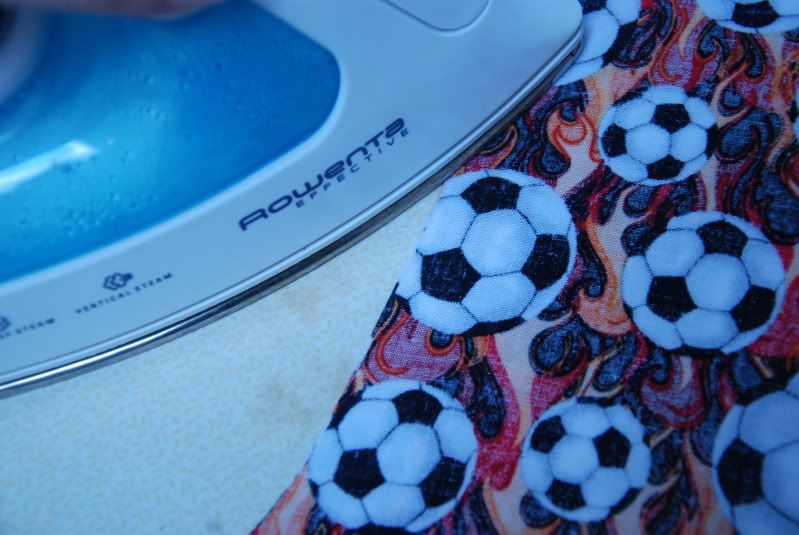
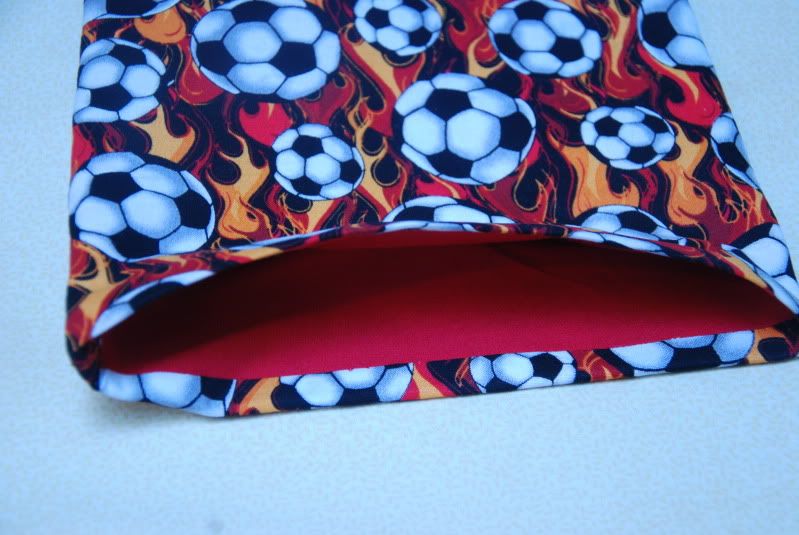
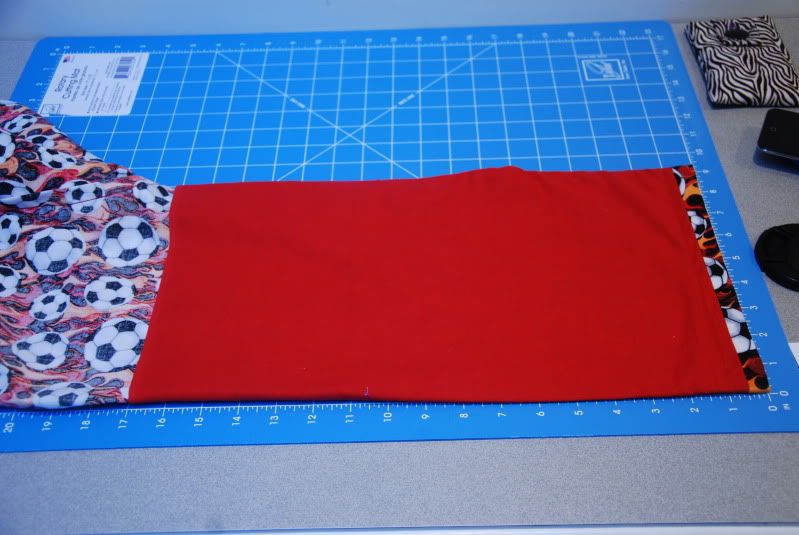
4. Sew the right sides of the two pieces together at the bottom of the pants pieces. (Just like Carla C. directs for sewing on a cuff)

5. Iron seam towards main fabric

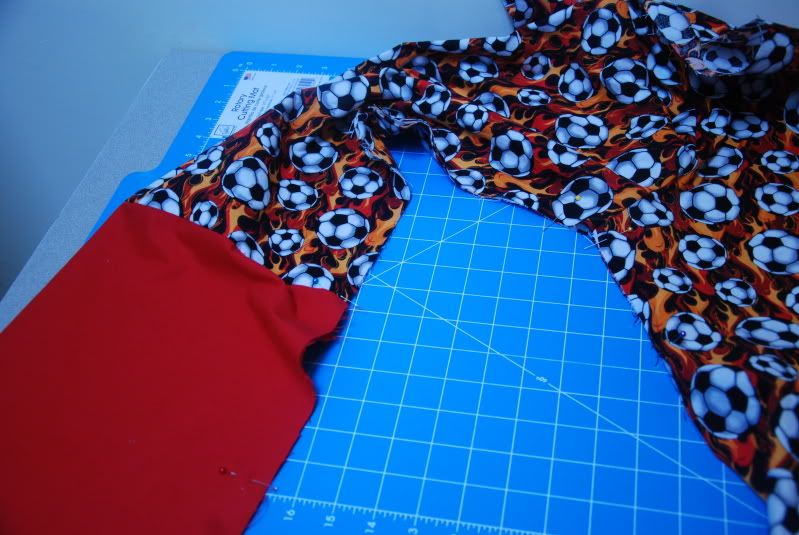
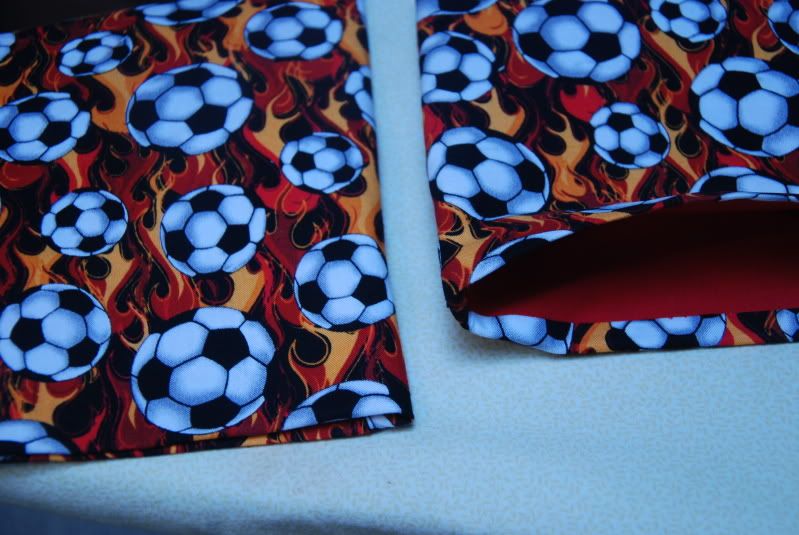
6. Pin pants pieces wrong sides together. I'm using French seams, remember? Sew center crotch using a 1/4" seam allowance.


7. Flip pants so that right sides are together. Iron seam so you have a nice crisp fold.
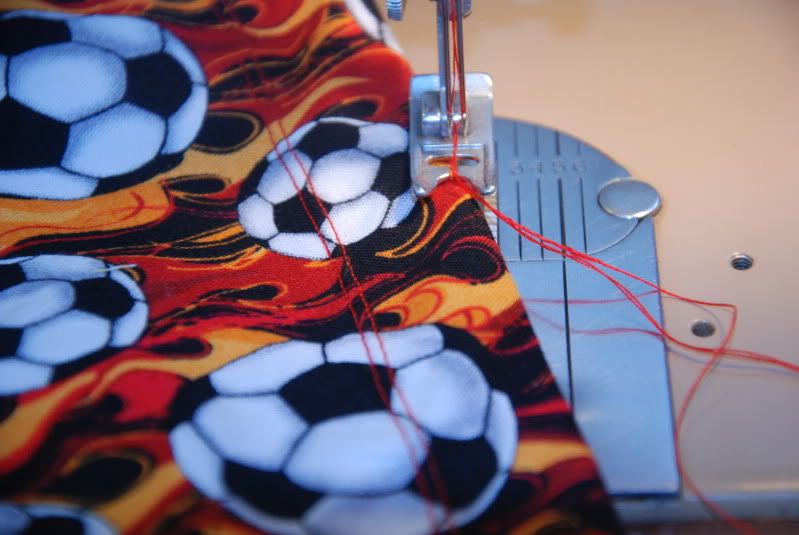
8. Sew center crotch again making sure to catch your seam inside. 3/8" should be good. Be sure to go back and sew over the crotch with a second reinforcing stitch! Stitch up about an inch from the bottom of the seam on both sides.
9. Turn pants right side out so that the two sides are folded in half and the crotch seams are together. Match up the crotch seams and pin legs. Be sure to have your lining piece still hanging down outside the pant leg. Sew inseam using 1/4" seam allowance. Be sure to sew back and forth at your start and stop to hold stitch in place!
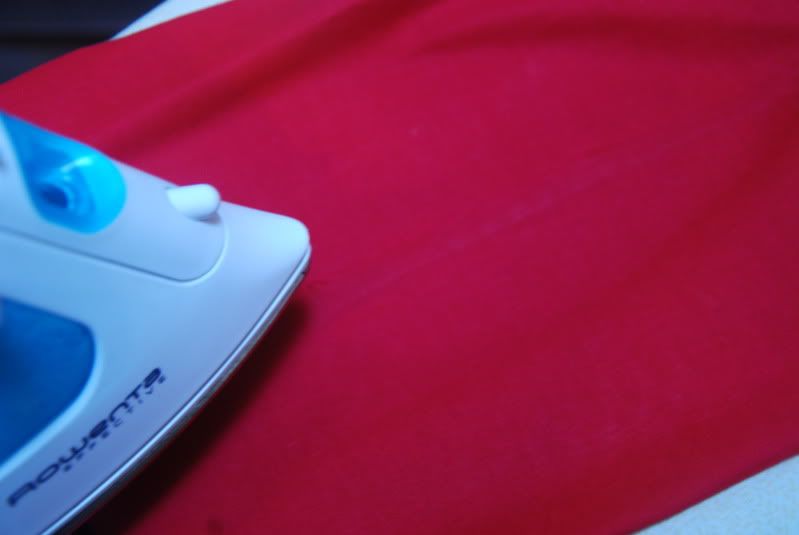
10. Remove pins and turn pants inside out. Put right sides together. Iron seams and then sew again using 3/8" seam allowance. The pants seem REALLY long right now, huh?
11. Turn right side out again and iron open those seam again!
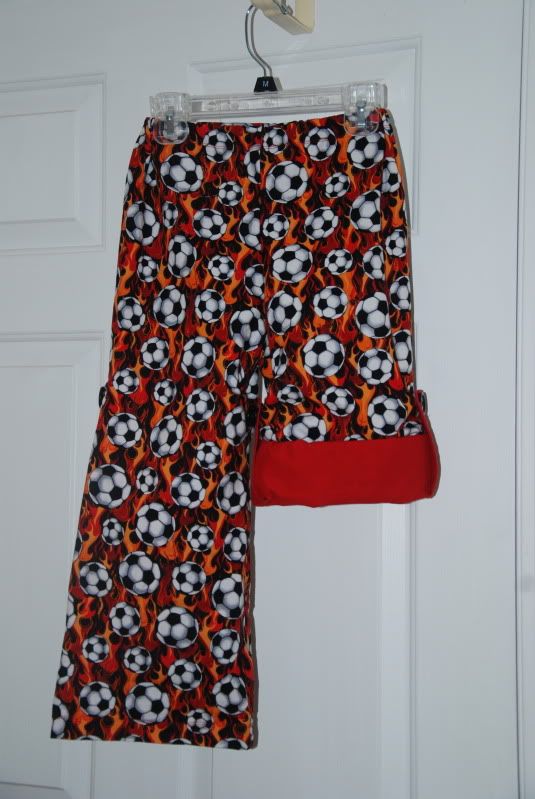
12. Turn lining inside the pants leg now. Your main fabric should turn inside just a little (this way when worn as full length pants the inner fabric doesn't show at the bottom).
13. Hem pants. I use a double needle because I like how it looks more finished. I use an inch seam allowance here. If you are using a double needle make sure you sew on the right side of your fabric!!!!
14. Sew your waistband according to CarlaC's directions.
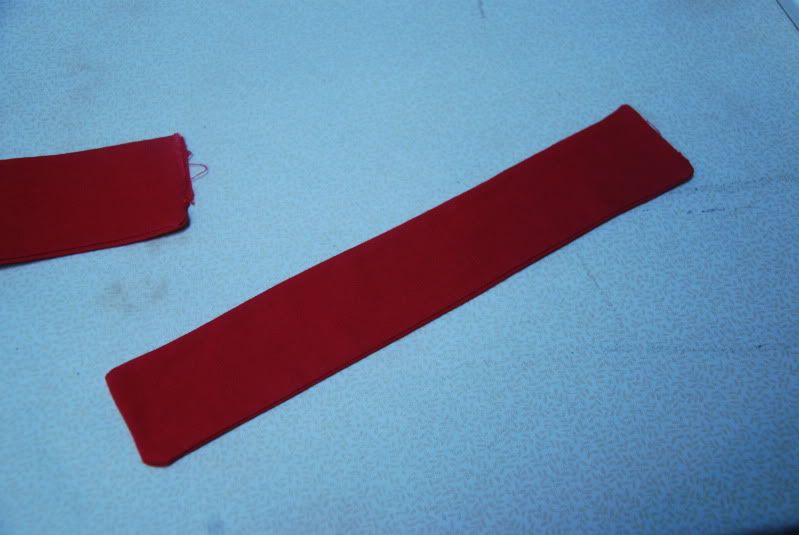
15. Now - you need 4 tabs. I made mine 2"x10". I cut 8 strips and sewed them together using 1/4" seam. Be sure to leave an opening at one end for turning! Turn and tuck the little bit of raw edge in and iron and then top stitch all the way around (again 1/4").

16. Try the pants on your LO. Roll up one pant leg to where you'll want it to be when the tabs are in use. Stick a pin in the edge and carefully remove from child. Mine ended up being at 14" up from the hem.
17. Turn pants inside out and press flat so that your inseams match up (inner and outer fabrics). Pin your tabs one inch above your measurement (so mine is pinned at 15"). Pin one tab on the inseam and one where the out seam would be.

18. Sew tabs on using either a double needle or two rows of stitching. Be sure you aren't sewing the pant leg closed!!! Also be sure you're catching both the inner and outer fabrics!!!
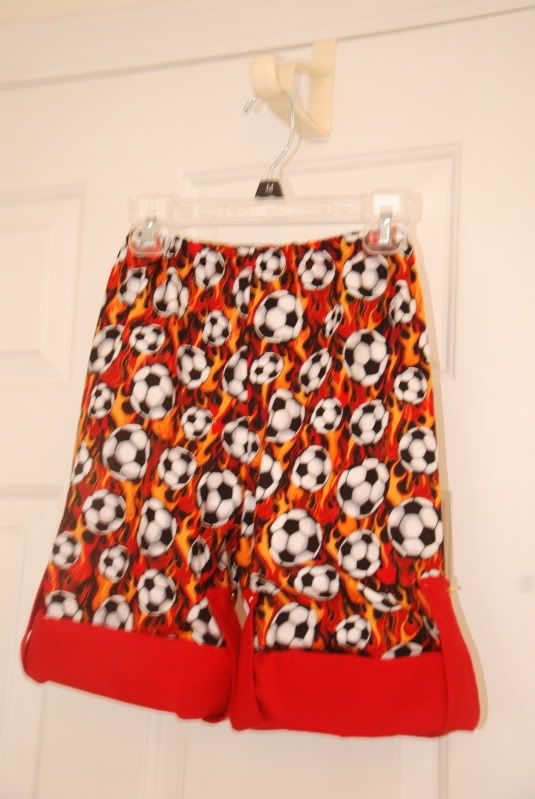
19. Roll them up and pin the tabs up and around to the stitching on the outside of the pant legs!!! Admire your work! You're almost done!
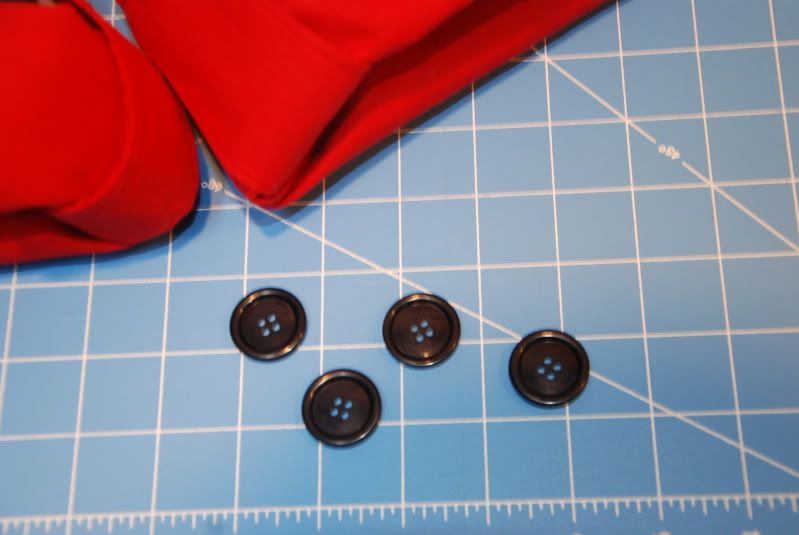
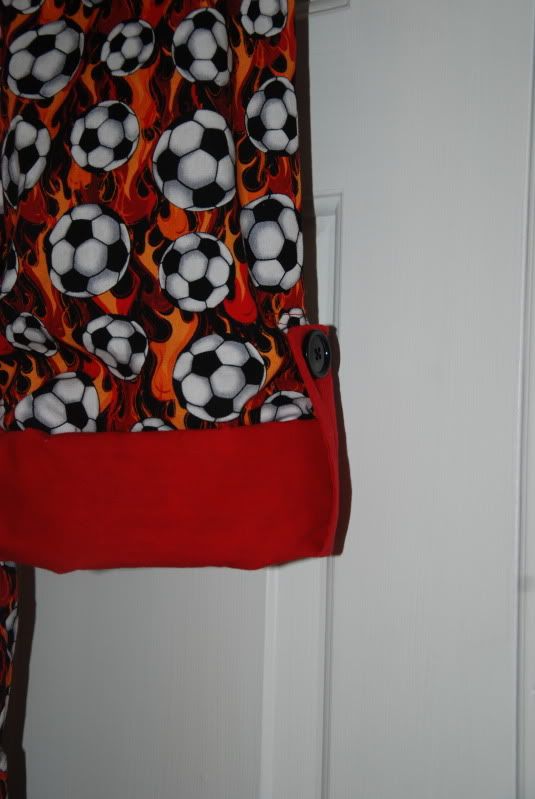
20. Here's where you have to decide what type of fasteners you want . . . Buttons or snaps. Sew buttons to stitching on outside of pant legs. Button holes go on the tabs. If you choose snaps I'd put the male half on the pant leg and the female half on the tab.
21. You are done! Take a picture of the fabulousness you created!
__________________
Easy Fits into Roll-Up Pants Tutorial
1. Cut out pants using next size up pattern pieces (to allow for extra room for French seams). I'm using a size 7 for my son who has a 27" out seam and a 24" waist.
2. Cut the pants using the basic pattern piece.
3. Cut your solid fabric (the inner "lining" fabric if you will) from the knee to the hem. Ideally you would measure from the waist to the knee and from the knee to the ground. Carla C has a 1.25" waist allowance at the top of the pant pattern piece and a 4.5" hem allowance at the bottom. My son is 11" from waistband to knee and 16" from knee to floor. I cut his inner fabric 16" long and used the pants pattern for shape.
Really this piece of fabric needs to be long enough to roll the pants up as high as you wish. For my boys they like to be able to roll them to knee length. Some might only want Capri length (and wouldn't need as much material). You could see how the cuff pattern piece would work for you. It worked fine to make an AG a cute pair of roll-up capris.
Mine is 16" long.
4. Sew the right sides of the two pieces together at the bottom of the pants pieces. (Just like Carla C. directs for sewing on a cuff)
5. Iron seam towards main fabric
6. Pin pants pieces wrong sides together. I'm using French seams, remember? Sew center crotch using a 1/4" seam allowance.
7. Flip pants so that right sides are together. Iron seam so you have a nice crisp fold.
8. Sew center crotch again making sure to catch your seam inside. 3/8" should be good. Be sure to go back and sew over the crotch with a second reinforcing stitch! Stitch up about an inch from the bottom of the seam on both sides.
9. Turn pants right side out so that the two sides are folded in half and the crotch seams are together. Match up the crotch seams and pin legs. Be sure to have your lining piece still hanging down outside the pant leg. Sew inseam using 1/4" seam allowance. Be sure to sew back and forth at your start and stop to hold stitch in place!
10. Remove pins and turn pants inside out. Put right sides together. Iron seams and then sew again using 3/8" seam allowance. The pants seem REALLY long right now, huh?
11. Turn right side out again and iron open those seam again!
12. Turn lining inside the pants leg now. Your main fabric should turn inside just a little (this way when worn as full length pants the inner fabric doesn't show at the bottom).
13. Hem pants. I use a double needle because I like how it looks more finished. I use an inch seam allowance here. If you are using a double needle make sure you sew on the right side of your fabric!!!!
14. Sew your waistband according to CarlaC's directions.
15. Now - you need 4 tabs. I made mine 2"x10". I cut 8 strips and sewed them together using 1/4" seam. Be sure to leave an opening at one end for turning! Turn and tuck the little bit of raw edge in and iron and then top stitch all the way around (again 1/4").
16. Try the pants on your LO. Roll up one pant leg to where you'll want it to be when the tabs are in use. Stick a pin in the edge and carefully remove from child. Mine ended up being at 14" up from the hem.
17. Turn pants inside out and press flat so that your inseams match up (inner and outer fabrics). Pin your tabs one inch above your measurement (so mine is pinned at 15"). Pin one tab on the inseam and one where the out seam would be.
18. Sew tabs on using either a double needle or two rows of stitching. Be sure you aren't sewing the pant leg closed!!! Also be sure you're catching both the inner and outer fabrics!!!
19. Roll them up and pin the tabs up and around to the stitching on the outside of the pant legs!!! Admire your work! You're almost done!
20. Here's where you have to decide what type of fasteners you want . . . Buttons or snaps. Sew buttons to stitching on outside of pant legs. Button holes go on the tabs. If you choose snaps I'd put the male half on the pant leg and the female half on the tab.
21. You are done! Take a picture of the fabulousness you created!
Marianne
